Paint flowers on nails might sound intimidating, but it’s easier than you think. Imagine walking into a room with vibrant blooms adorning your fingertips. It’s not just nail art; it’s a statement. Whether you’re a DIY enthusiast or a professional nail artist, mastering the art of painting flowers on nails can elevate your style game. So, let’s dive into this floral journey and turn your nails into a canvas of creativity!
Flower designs on nails have been around for ages, but they’ve never gone out of style. In fact, they keep evolving with trends, colors, and techniques. From delicate cherry blossoms to bold sunflowers, the possibilities are endless. The best part? You don’t need to be a Picasso to pull it off. With the right tools, practice, and a little patience, anyone can create stunning floral nail art.
But why stop at just painting flowers? This guide will walk you through everything you need to know about painting flowers on nails, from basic techniques to advanced tricks. We’ll also cover the best tools, colors, and inspiration to help you create designs that will make heads turn. So, grab your nail polish and let’s get started!
Read also:Celebrity Birthdays On 16th October Whos Turning Another Year Wiser
Understanding the Basics of Paint Flowers on Nails
Why Paint Flowers on Nails?
Flowers on nails aren’t just about aesthetics; they’re a form of self-expression. Whether you’re feeling whimsical, romantic, or adventurous, floral designs can reflect your mood. Plus, they’re versatile. You can pair them with any outfit, occasion, or season. Think about it: dainty roses for a date night, cheerful daisies for a summer picnic, or dramatic black orchids for a formal event. The options are limitless!
And here’s the kicker: painting flowers on nails is therapeutic. It’s like meditation for your hands. As you focus on each petal and stroke, you’ll find yourself relaxing and losing track of time. So, if you’re stressed or need a creative outlet, this is the perfect activity for you.
Tools You’ll Need to Get Started
Before you dive into painting flowers on nails, you’ll need the right tools. Here’s a quick rundown of what you’ll need:
- Small detail brushes (size 0 or 1)
- Nail art pens (great for beginners)
- Acrylic paints or nail polish in various shades
- A steady hand (or a nail art holder for stability)
- Clean-up tools like q-tips and nail polish remover
- A base coat and topcoat to seal your masterpiece
Don’t worry if you don’t have all these tools at first. You can start with the basics and upgrade as you get more comfortable with the process. Remember, practice makes perfect!
Step-by-Step Guide to Paint Flowers on Nails
1. Choose Your Flower Design
The first step is deciding which flower you want to paint. Do you prefer something simple like a cherry blossom or something intricate like a peony? Here are a few ideas to get you started:
- Roses: classic and elegant
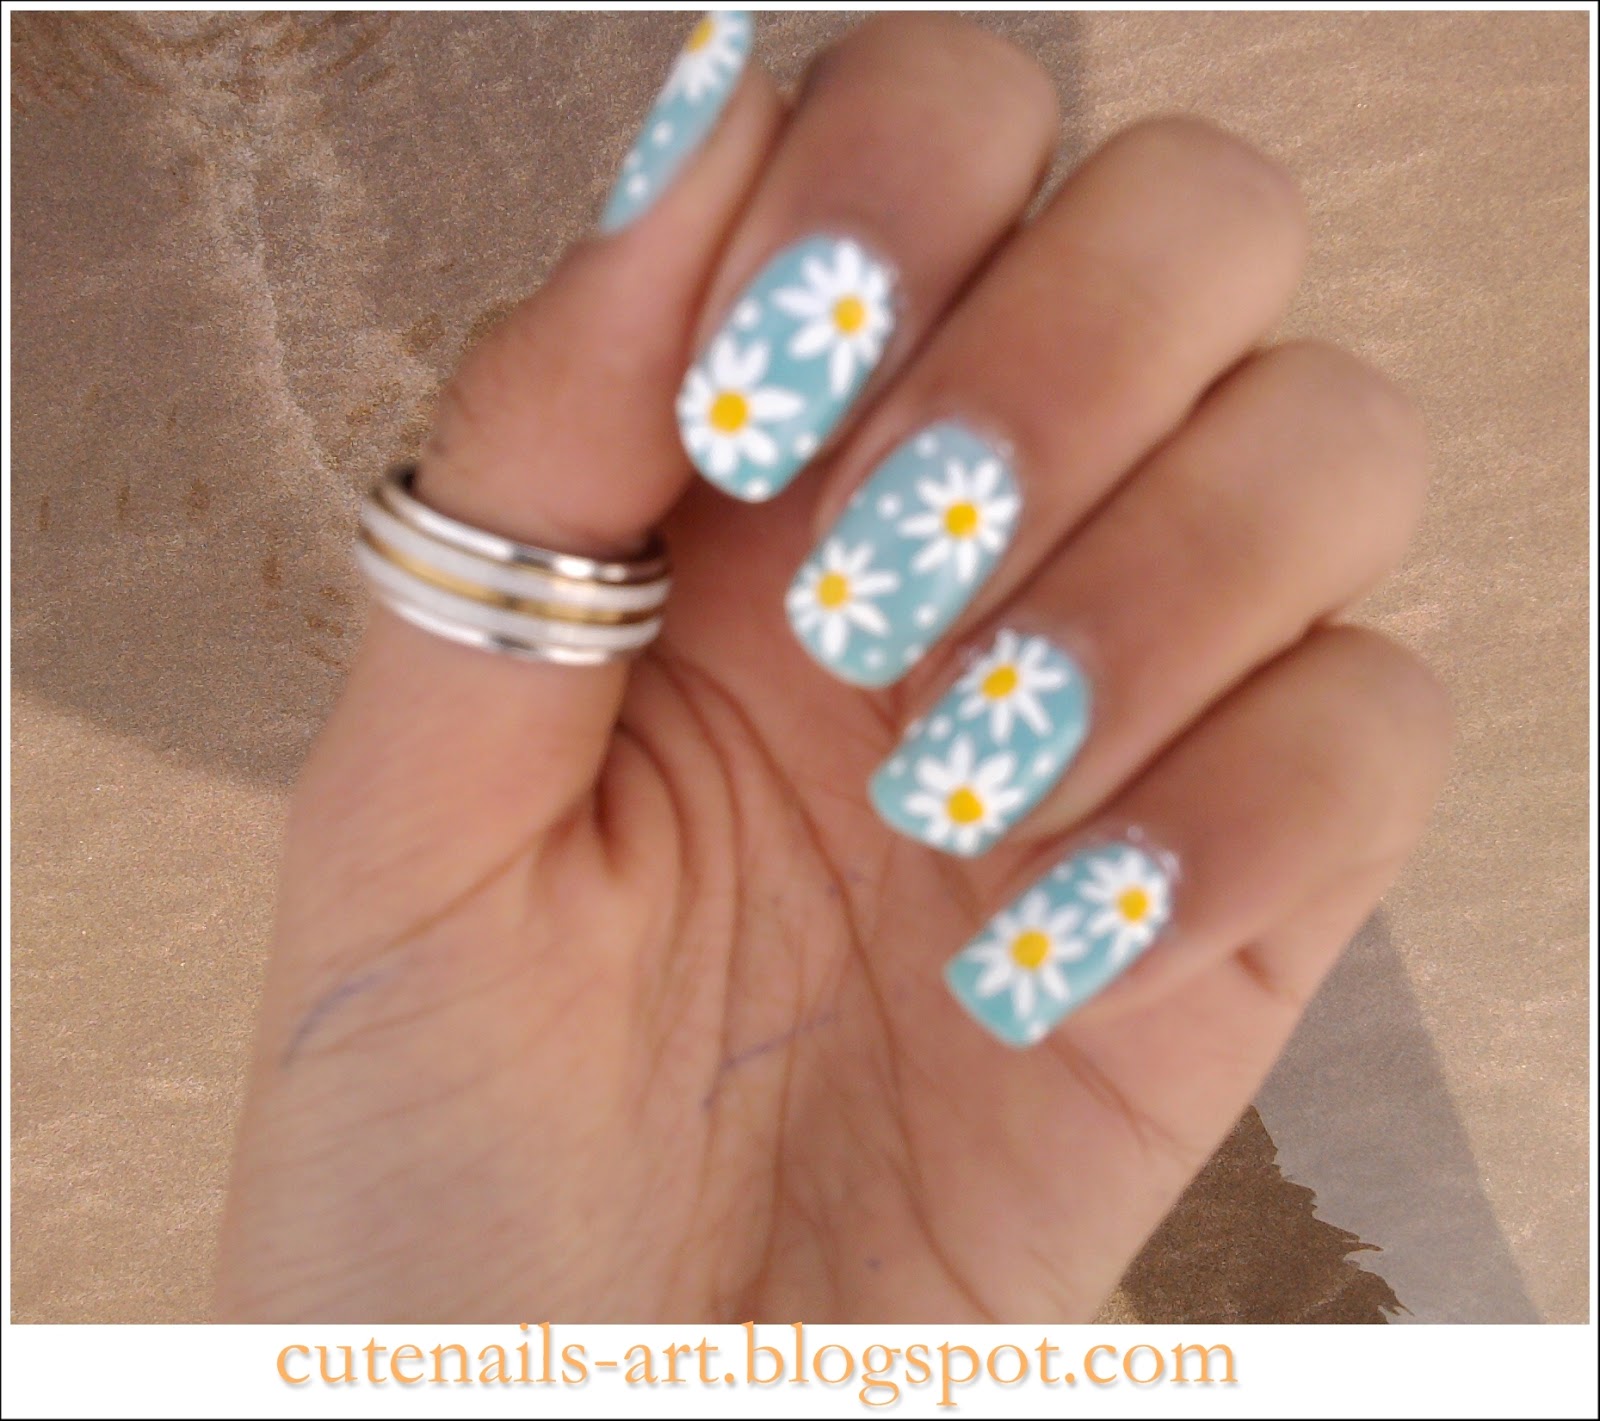
- Daisies: cute and playful
- Sunflowers: bold and vibrant
- Orchids: exotic and sophisticated
Once you’ve chosen your design, sketch it out on paper first. This will help you visualize the final result and practice your strokes.
Read also:How Old Is Itati Lopez Discover The Fascinating Life Story Of This Rising Star
2. Prep Your Nails
Preparation is key to achieving a flawless finish. Start by cleaning your nails with acetone to remove any oils or residue. Then, apply a base coat to protect your nails and create a smooth surface for painting. If you’re using a solid color as a background, apply two coats of polish and let it dry completely.
3. Start Painting
Now comes the fun part: painting your flowers! Here’s a breakdown of the process:
- Begin with the center of the flower. Use a small dot or circle for the middle.
- Add petals around the center. Start with the larger petals and work your way to the smaller ones.
- Use contrasting colors to create depth and dimension.
- Add details like veins or shading to make your flowers pop.
Take your time and don’t rush. Remember, it’s okay to make mistakes. That’s what q-tips and nail polish remover are for!
Top Tips for Perfecting Your Floral Nail Art
1. Keep It Simple
When you’re just starting out, don’t try to tackle complex designs. Stick to simple flowers like daisies or cherry blossoms. As you gain confidence, you can move on to more intricate designs.
2. Experiment with Colors
Don’t be afraid to mix and match colors. Try blending shades to create ombre effects or use unexpected color combinations to make your designs stand out.
3. Use Stencils or Templates
If freehand painting feels overwhelming, consider using stencils or templates. They can help you achieve precise lines and shapes, especially when you’re working on detailed designs.
Common Mistakes to Avoid
Even the best nail artists make mistakes. Here are a few common pitfalls to watch out for:
- Applying too much polish at once. This can lead to smudging and uneven layers.
- Not letting each layer dry completely. Rushing the process can ruin your design.
- Overloading your brush with paint. This can cause blobs and uneven strokes.
By avoiding these mistakes, you’ll be well on your way to creating beautiful floral nail art.
Advanced Techniques for Pro-Level Designs
1. Negative Space Designs
Negative space designs are all the rage right now. Instead of covering your entire nail with paint, leave some areas bare to create a modern, minimalist look. Try painting flowers on one side of the nail and leaving the other side empty for a chic contrast.
2. 3D Effects
Take your floral designs to the next level by adding 3D elements. Use gel polish or nail art studs to create raised textures and make your flowers pop off the nail.
3. Watercolor Techniques
Watercolor nail art is both beautiful and challenging. To achieve this look, use diluted nail polish and a small brush to create soft, blended colors. It’s a great way to add a dreamy, artistic touch to your floral designs.
Where to Find Inspiration
Looking for inspiration? The internet is your best friend. Pinterest, Instagram, and YouTube are filled with stunning floral nail art ideas. Follow nail artists and designers to stay updated on the latest trends. You can also draw inspiration from nature itself. Look at real flowers and try to replicate their colors and shapes on your nails.
The Importance of Practice
As with any skill, practice is essential. Don’t get discouraged if your first few attempts don’t turn out perfectly. Keep practicing and experimenting with different techniques. Over time, you’ll develop your own unique style and become a pro at painting flowers on nails.
Conclusion: Your Floral Nail Art Journey Awaits
Paint flowers on nails is not just a hobby; it’s a form of art. Whether you’re a beginner or a seasoned pro, there’s always room to grow and improve. Remember to have fun, be creative, and most importantly, believe in yourself. Your nails are your canvas, and the possibilities are endless.
So, what are you waiting for? Grab your tools, pick your favorite flower design, and start painting. And don’t forget to share your creations with the world! Whether it’s on social media or with your friends and family, showing off your work can be incredibly rewarding.
Call to Action: If you’ve enjoyed this guide, leave a comment below and let us know what other nail art tutorials you’d like to see. Happy painting!
Table of Contents
- Understanding the Basics of Paint Flowers on Nails
- Why Paint Flowers on Nails?
- Tools You’ll Need to Get Started
- Step-by-Step Guide to Paint Flowers on Nails
- Choose Your Flower Design
- Prep Your Nails
- Start Painting
- Top Tips for Perfecting Your Floral Nail Art
- Keep It Simple
- Experiment with Colors
- Use Stencils or Templates
- Common Mistakes to Avoid
- Advanced Techniques for Pro-Level Designs
- Negative Space Designs
- 3D Effects
- Watercolor Techniques
- Where to Find Inspiration
- The Importance of Practice
- Conclusion: Your Floral Nail Art Journey Awaits