Ah, cutting your own hair! sounds crazy right but hear me out. In this crazy world where money is tight and time is even tighter, learning how to cut your own hair can save you serious cash and give you a sense of accomplishment that’s hard to beat. If you’ve ever wondered whether you can handle the scissors yourself, the answer is YES—you totally can. So grab your mirror, a sharp pair of shears, and let’s dive into the art of DIY hairstyling.
Now before we get into the nitty-gritty details, let me just say this: cutting your own hair doesn’t have to be scary. Sure, it might feel intimidating at first, but with the right tools, techniques, and a bit of patience, you can rock a fresh look without breaking the bank. Whether you’re doing it out of necessity or just want to experiment with your style, this guide will walk you through every step.
And hey, who knows? You might even discover a hidden talent for hairstyling. So stick around because by the end of this article, you’ll have all the confidence you need to take control of your locks. Let’s do this!
Read also:How Old Is Santa Cruz Medicinals Unveiling The Secrets Of A Timeless Brand
Table of Contents:
- Introduction to Cutting Your Own Hair
- Tools You’ll Need for a DIY Haircut
- Preparing for Your First DIY Haircut
- Step-by-Step Guide on How to Cut Your Own Hair
- Common Mistakes to Avoid
- Tips and Tricks for a Perfect Cut
- Cutting Different Types of Hair
- Maintaining Your DIY Haircut
- How Much Can You Save?
- Final Thoughts on DIY Haircuts
Introduction to Cutting Your Own Hair
Look, let’s face it—haircuts can be expensive. And sometimes, finding the time to go to a salon feels like an impossible task. That’s why more and more people are turning to DIY haircuts as a solution. But is it really worth it? The short answer is yes! With a little practice and the right info, cutting your own hair can be a game-changer.
One of the coolest things about learning how to cut your own hair is the freedom it gives you. No more waiting weeks for an appointment or worrying about whether the stylist will understand your vision. You’re in charge, and that’s pretty empowering. Plus, you’ll save a ton of money in the long run, which is always a win.
Tools You’ll Need for a DIY Haircut
Alright, so you’ve decided to take the plunge. Great! But before you start snipping away, you’ll need the right tools. Here’s what you should have:
- A good pair of hair-cutting scissors (not kitchen scissors—seriously, don’t do it)
- A fine-tooth comb
- Hair clips or bobby pins
- A spray bottle filled with water
- A mirror (preferably one that’s easy to move around)
- A cape or towel to protect your clothes
These tools will make your life so much easier and ensure a cleaner, more professional-looking result. Trust me, investing in quality scissors alone can make a huge difference.
Preparing for Your First DIY Haircut
Preparation is key when it comes to cutting your own hair. Here’s a quick checklist to help you get ready:
Read also:How Old Is World Of Tshirts A Deep Dive Into The Iconic Brand
Wash and Dry Your Hair
Start with clean, dry hair. Wet hair can behave differently when cut, so it’s best to work with dry strands for accuracy.
Find a Quiet Space
Choose a quiet, well-lit area where you won’t be disturbed. A bathroom with a large mirror works perfectly.
Plan Your Style
Decide on the style you want before you start cutting. Look up reference pictures if you need inspiration. Remember, you can always trim more later, but you can’t add hair back once it’s gone!
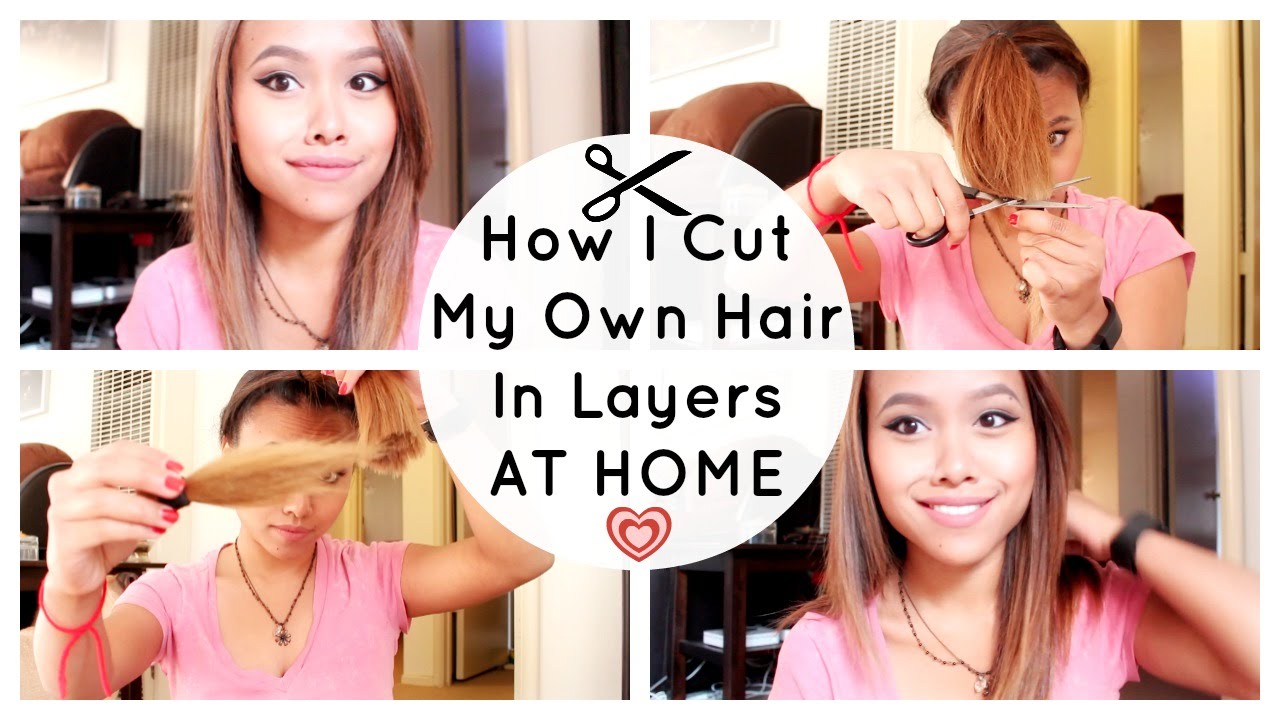
Step-by-Step Guide on How to Cut Your Own Hair
Ready to get started? Follow these steps for a successful DIY haircut:
Step 1: Section Your Hair
Use clips to section off different parts of your hair. This will help you focus on one area at a time and prevent mistakes.
Step 2: Cut in Layers
Start by cutting small sections at a time, working from the bottom up. Use the comb to lift each section and ensure even cutting.
Step 3: Check for Symmetry
Regularly step back and check your work in the mirror. Make sure both sides are balanced and adjust as needed.
Step 4: Finish with a Trim
Once you’ve cut the main sections, go back and tidy up any uneven areas. A light trim can make all the difference.
And that’s it! By following these steps, you’ll end up with a haircut that looks polished and professional.
Common Mistakes to Avoid
Even the best DIY stylists make mistakes sometimes. Here are a few pitfalls to watch out for:
- Cutting too much at once—always start with small snips
- Not checking symmetry regularly
- Using dull scissors, which can lead to jagged cuts
- Forgetting to detangle your hair before cutting
By avoiding these common errors, you’ll increase your chances of achieving a great result every time.
Tips and Tricks for a Perfect Cut
Here are some extra tips to help you master the art of cutting your own hair:
- Take breaks if you feel frustrated—it’s better to walk away than rush and make a mistake
- Use a spray bottle to dampen your hair slightly for easier cutting
- Practice on someone else first if you’re feeling nervous
These little tricks can make a big impact on your final result, so don’t overlook them!
Cutting Different Types of Hair
Not all hair is created equal, and different types require slightly different approaches. Here’s how to adapt your technique based on your hair type:
Curly Hair
Curly hair can be tricky to cut because it shrinks when it dries. Cut it slightly longer than you want it to be, and always work with dry hair.
Straight Hair
Straight hair is usually easier to manage, but be careful not to over-trim. Straight hair tends to show every little cut, so go slow.
Thick Hair
Thick hair may need more layering to avoid looking too bulky. Use thinning scissors if necessary to achieve a softer look.
Maintaining Your DIY Haircut
Once you’ve cut your hair, it’s important to maintain it to keep it looking fresh. Regular trims every 6-8 weeks can help prevent split ends and keep your style sharp. Plus, it’s a great opportunity to tweak your cut if needed.
How Much Can You Save?
Let’s talk numbers. The average haircut costs anywhere from $30 to $100, depending on where you live and the salon you choose. If you cut your own hair, you could save hundreds of dollars per year. Over time, that adds up to a serious chunk of change!
Final Thoughts on DIY Haircuts
Cutting your own hair might seem daunting at first, but with practice and the right guidance, it’s totally doable. By following the steps outlined in this article, you’ll be able to create a stylish, cost-effective look that suits your lifestyle. So why not give it a try? Your wallet—and your hair—will thank you for it.
Now it’s your turn! Leave a comment below and let me know how your DIY haircut turned out. And if you found this article helpful, don’t forget to share it with your friends. Together, let’s embrace the power of self-styling!

-Step-13-Version-3.jpg)